Yes, its 2020 and entirely possible to control synthesizers with your thoughts, so of course its entirely possible to control your synthesizers with your pulse. In fact, its entirely possible to control your synthesizers with your heart rate with only ~$50 of equipment.
“Why?”, you ask? I don’t know. Why not? It would make dadas proud. Also, who says that a tempo needs to be fixed, lets make things more dynamic. Lets make the music that flows in your blood!
Show me
The code is here: https://github.com/schollz/heartbpm
Here’s a video of me using my heart rate to control three synthesizers.
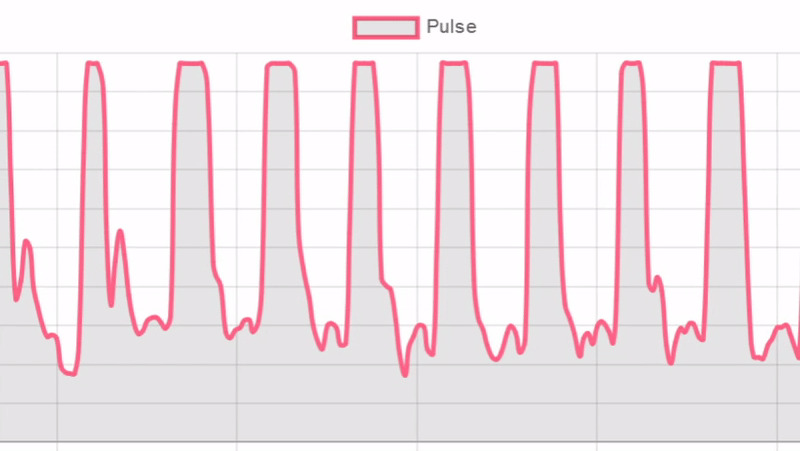
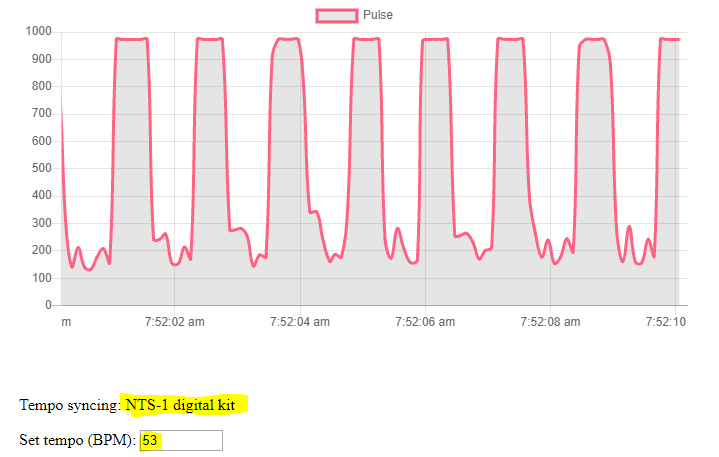
Although you can do this with almost any synthesizer (more on that below), for this I’m using the Roland SH01a, and the Teenage Engineering OP-1 and Pocket Operator PO-33. Luckily my pulse rate averaged around 80 BPM which is what I would like for this particular song.
How does it work?
The system is really simple. Here’s a little schematic:
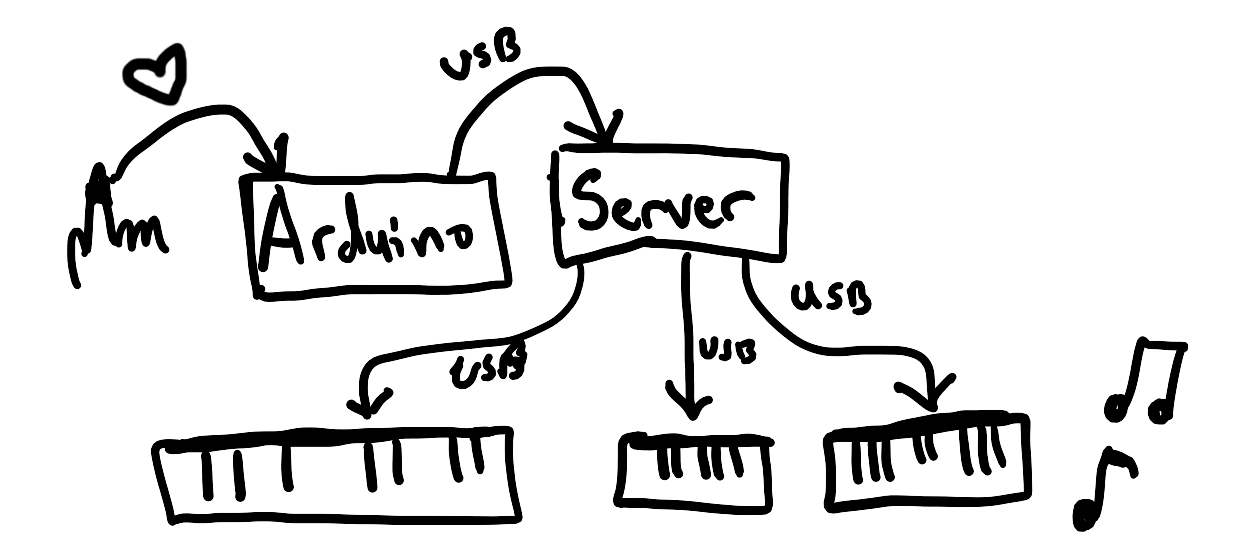
Connect a pulse sensor to your finger. The pulse sensor is connected to an Arduino. The Arduino can detect a pulse and send serial data to a computer. The computer runs a server that reads the serial data which updates a web page. The web page uses Web MIDI to send out the MIDI clock to all connected synths!
The following instructions will give you a more detailed instruction.
Stuff to buy.
- Arduino ($23)
- Pulse sensor ($25)
- Audio isolator (optional, $9)
- Synthesizer with MIDI (basically *any* synthesizer made in the last 10 years)
- Computer
Get the code.
First get the code. You can clone from Github or you can download it directly.
Setup the hardware.
First you can set up the pulse sensor. Simply attach the pulsesensor to the arduino.
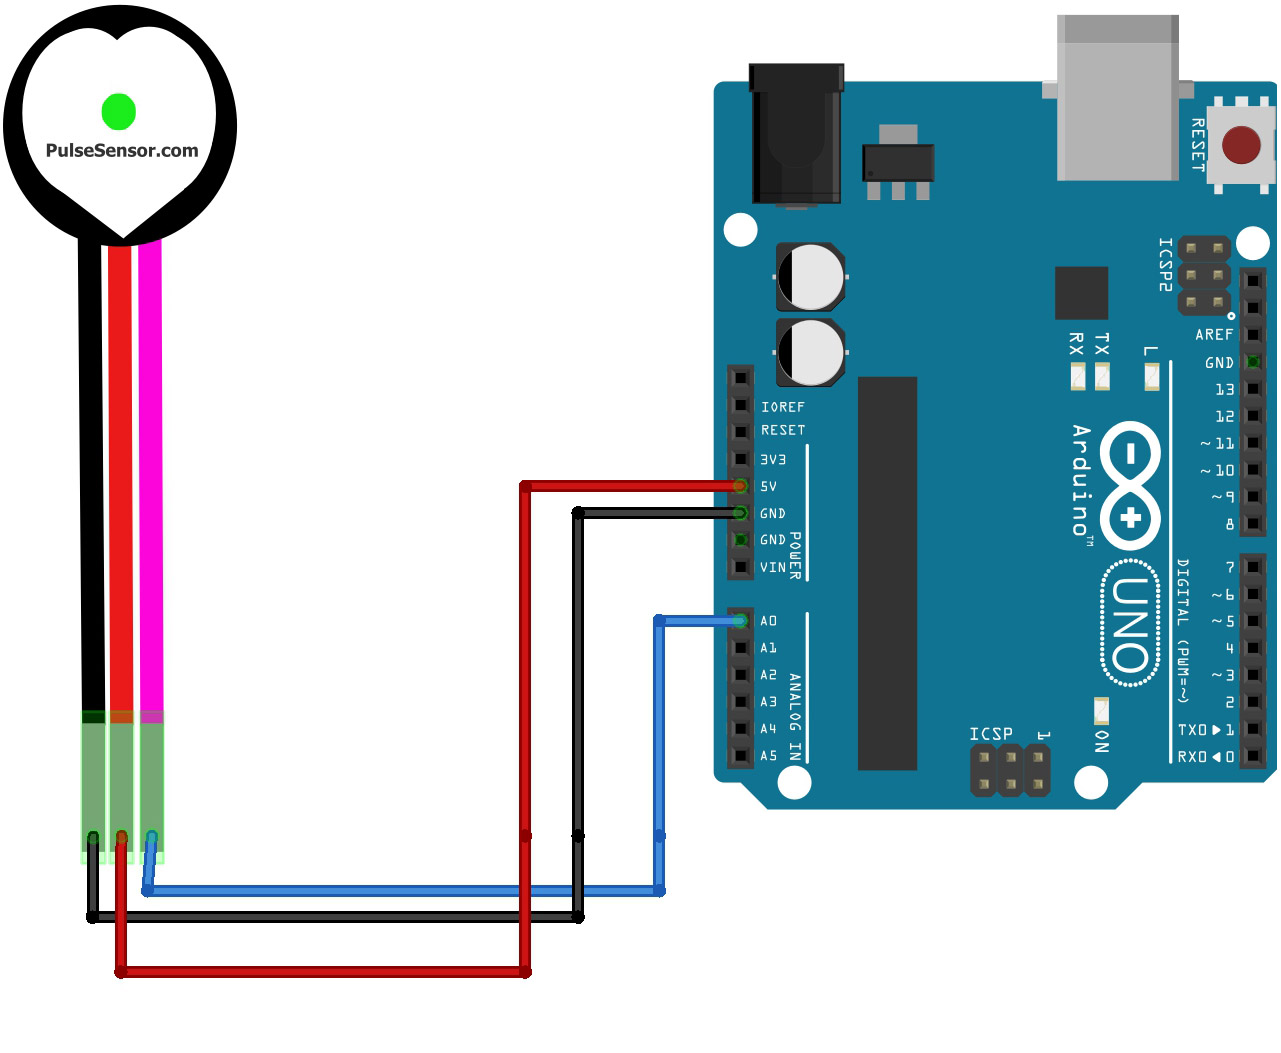
Now use the Arduino IDE to upload the heartbeat.ino:
 1int pulseSensorPurplePin = 0;
 2int signal;
 3int Threshold = 550;
 4int counter = 0;
 5
 6void setup() {
 7  Serial.begin(9600);
 8}
 9
10void loop() {
11  signal = analogRead(pulseSensorPurplePin);
12  Serial.println(signal);
13  if (signal > Threshold && counter == 0) {
14    Serial.println("b");
15    counter = 1;
16  }
17  if (counter == 1 && signal < Threshold) {
18    counter = 0;
19  }
20  delay(10);
21}
Once that is uploaded, you can keep the Arduino connected and move on to the software.
Setup the software.
First make sure you have Go installed on your computer You can download Go here. Now you can go into the heartbpm code (download on my Github) and simply run in a terminal:
1$ go build -v
Now you’ll have an executable heartbpm in that directory. You can simply run it with
$ ./heartbpm --com COMPORT
[info]  2020/06/13 07:48:06 listening on :8054
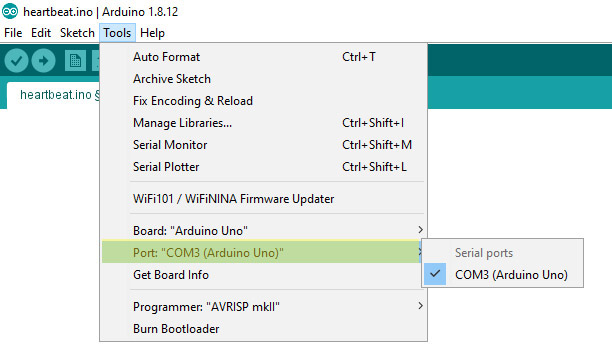
Make sure you find your COMPORT. The easiest way to find your com port is to look at it from the Arduino IDE.
Now, connect the pulse sensor to your finger and open a web browser to http://localhost:8054. You should be able to see some data coming out.
Just add synthesizers.
To get it working with synthesizers, just attach your synthesizer via MIDI USB to your computer. Most modern synthesizers have USB which doubles as a MIDI connection. The website will automatically detect the synthesizers, so just attach them and reload the page. Then you will see which ones are attached.
The website is getting the averaged pulse data calculated BPM. This BPM is used to send MIDI clock signals every 1/24th of a quarter note, which is the standard for setting tempos on devices.
That’s it! I mentioned it was simple ;)
Useful notes.
- If you are having trouble getting your pulse connected, try moving the pulse sensor just a little bit (1/8"). Sometimes if its not over your vein it will be harder to detect. Once its in the right spot it will stay there nicely, though!
- If you are getting background noise its because the synthesizers are powered off your computer which (unless is battery operated) tends to have a noisy power supply. I highly recommend getting an audio isolator to remove this noise.
Enjoy!
Hope this is useful for you, and hope you can create something new! If you are interested in the music I’ve created, check out my Bandcamp or just search infinite digits on any streaming platform.