Music Discovery
Discover music easily with a Raspberry Pi, Spotify, and Youtube.
I love discovering new music. Can I make it easier to find new music automatically? This is a beginner’s guide for a simple way for implementing a Raspberry Pi server for hyperdiscovery of music. The idea is simple - to setup a server that finds new songs that are related to any song that I like on Spotify or YouTube.
Usually I can find new music by talking to friends, listening to podcasts (All Songs Considered or tuning in to the radio, Sound Opinions). Once, I even ventured into programming my own music discovery service, musicsuggestions.ninja. Recently I’ve noticed that Spotify Discover Playlists are doing a great job of supplying fresh and new musicians to discover. I wondered if I could leverage Spotify to help me to supercharge the discovery of music?
Requirements
- IFTTT account, Spotify / YouTube account
- Raspberry Pi
Setup Raspberry Pi
Install packages
The magic of this idea relies on a Python package that I wrote, playlistfromsong. You can read more about playlistfromsong here. Before starting, make sure you have Python3 installed,
sudo apt-get install python3
Then, to install playlistfromsong, just do:
sudo python3 -m pip install playlistfromsong
In order to get mp3s, you’ll also need to get ffmpeg. To do this you can compile ffmpeg yourself or just use a pre-built binary from John VanSickle:
wget https://johnvansickle.com/ffmpeg/releases/ffmpeg-release-armhf-32bit-static.tar.xz
tar xf ffmpeg-release-armhf-32bit-static.tar.xz
sudo mv ffmpeg-3*/qt-faststart ffmpeg-3.3.2-armhf-32bit-static/ffmpeg ffmpeg-3.3.2-armhf-32bit-static/ffmpeg-10bit ffmpeg-3.3.2-armhf-32bit-static/ffprobe ffmpeg-3.3.2-armhf-32bit-static/ffserver /usr/local/bin/
Either method for getting ffmpeg will work, although the prebuilt option should be much faster.

Once you have everything installed, check to see if it works by typing
sudo playlistfromsong --serve --folder ~/Music
Now you can open up any browser to http://localhost:5000 to play your music.
Setup port-forwarding
In order to setup the webhooks to access your server, you’ll need to allow external access to your network by forwarding port 80 on the Raspberry Pi.
First, find your local IP address. To do this, just type
ifconfig
and note down the address that you see.

Now you’ll need to enter that address into your router. Open a web browser and log in your router by going to http://192.168.0.1 or http://192.168.1.1. There is usually a username and password, usually admin and password. If that doesn’t work, do some Googling with your particular router.
Once you log in to your router, find a setting that says “Port Forwarding” and add the address that you saved before as one of the addresses to forward, and for ports use “80” for the internal and the external port. That’s it!
Setup DNS
Now you can setup a DNS, don’t worry its also easy. First, get your public IP address using
curl icanhazip.com
Note down that address.
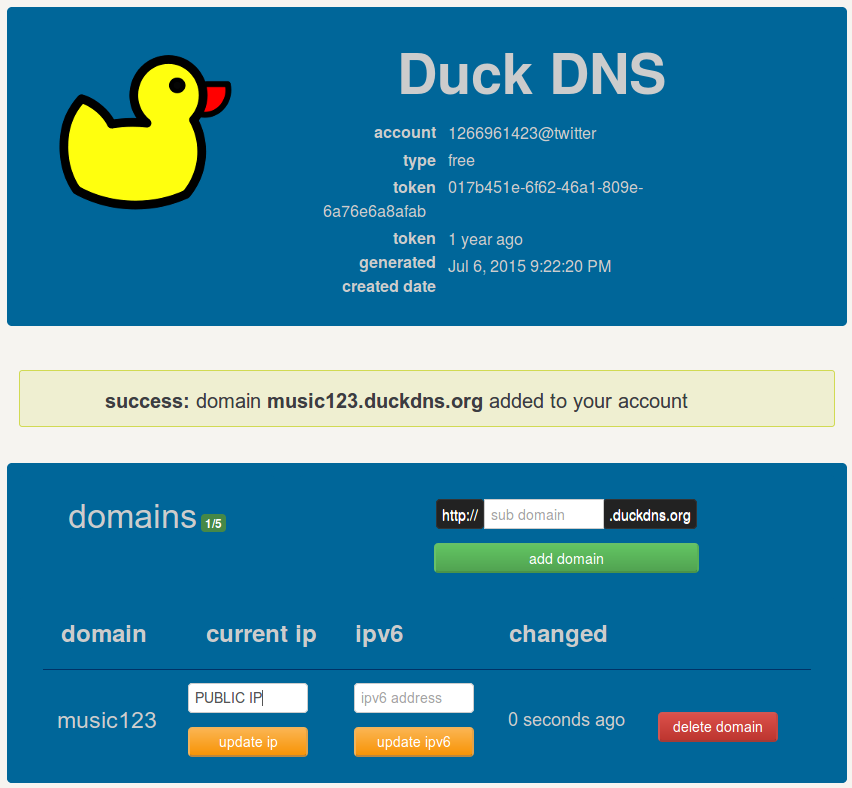
Finally, you should setup a DNS using DuckDNS and setup a new DNS with whatever name you want and put your public IP address as the target.

Now you have a DNS, YOURNAME.duckdns.org!
Setup proxy server
Finally, you’ll need a proxying server. The easiest is Caddy. To download and install caddy just do
curl https://getcaddy.com | bash
Then make a new file, named Caddyfile. In this Caddyfile file, put in the following:
YOURNAME.duckdns.org {
    proxy / 127.0.0.1:8050 {
        websocket
    }
}
where YOURNAME is your name you used for the DuckDNS.
Finally, start up your proxying server using
caddy
If it starts without an issue, you can sto the process and then run it in the background using
nohup caddy &
Now you can startup the playlistfromsong server using
nohup sudo playlistfromsong --serve --folder ~/Music &
Now you are up and running! Check out your music server by going to the address you setup with DuckDNS.
Setup IFTTT
Spotify
Lets make an applet that will automaticlaly ask the server to find some new songs for every song we like on Spotify.
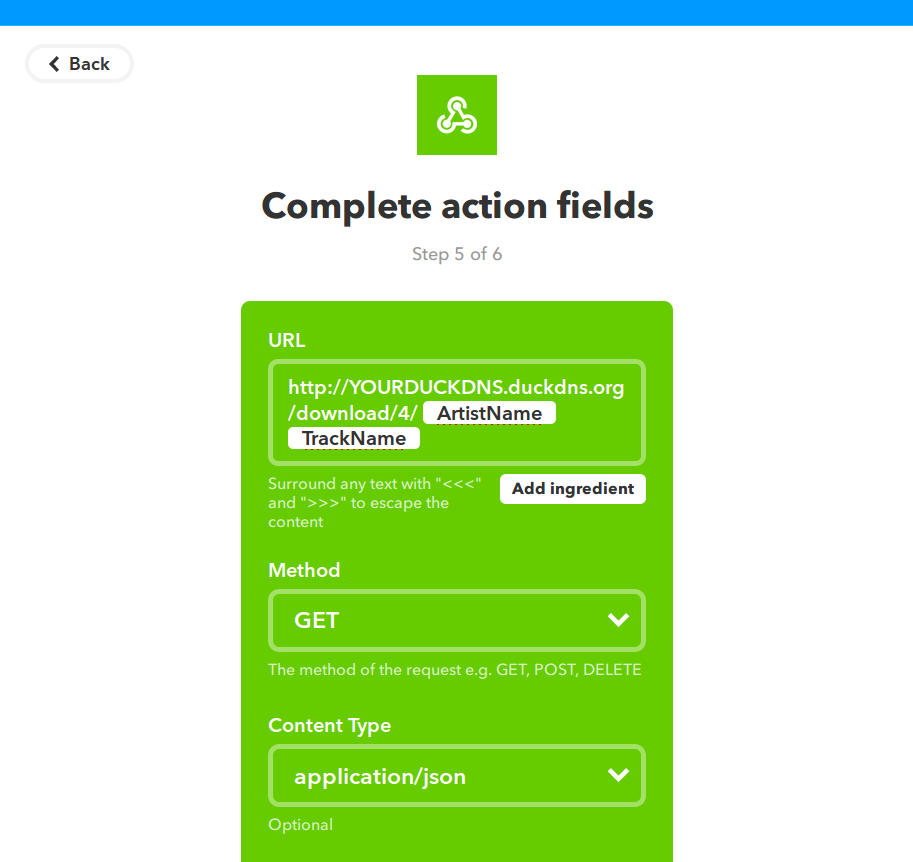
For “This” choose “Spotify” and choose the trigger “New saved track”. For “That” choose Maker Webhooks and choose the action “Make a web request”. For the action field “URL” put in
http://YOURDUCKDNS.duckdns.org/download/4/ {{ArtistName}} {{TrackName}}
For “Content Type” select “application/json”. Continue and select “Finish”.

YouTube
You can follow the same steps as above for YouTube, with the only diference being the the “This” part of the applet, in which you will select YouTube.
You’re done! Now you will download 3 new songs for every song you like on Spotify/YouTube! Enjoy!